 how-to
How to Design a Functional Outdoor Cooking Area
Last Updated: October 29, 2026
Quick Summary
A functional outdoor cooking area starts with measuring the yard before choosing any layout. Map the house wall, property lines, utility lines, slope, and sun direction, then select a layout such as a straight run, L-shape, or U-shape that fits the space. Keep at least 36 inches of clear walkway around work surfaces.
- Measure total usable width and depth before choosing a layout.
- Keep the cooking spot away from dry fences and low tree branches.
- Small yards suit a single straight run along one wall.
- Medium yards can use an L-shape or U-shape with a sink and refrigerator.
- Keep at least 36 inches of clear walkway around work surfaces.
Table of Contents
Most outdoor kitchens fail before the first burger hits the grill. The problem is usually not the appliances. It is the space, which was never measured properly. At allvalley, we have spent more than 26 years helping homeowners, and a clear idea of how the yard really gets used is a useful starting point.
A functional outdoor cooking area is a zone built for food prep, cooking, and serving, laid out so you can move through it without bumping into anything. Start by mapping the yard on paper. Note the house wall, the property lines, existing trees, slopes, and any drain or utility lines you can see.
Walk the site and check the shape. Long, narrow yards need a linear layout. Square yards allow an L-shape or U-shape. Sloped ground often needs a level pad before anything else goes in.
Watch out: Do not place a cooking area close to a dry, tree-lined fence or under low branches. Smoke, heat, and falling debris can cause real damage over time.
Measure these things before you pick any layout:
- Total usable width and depth of the area
- Distance from the house door to the cooking spot
- Sun direction at midday and in the evening
- Wind patterns, especially where prevailing breezes blow smoke
- Location of gas, water, and electrical lines
Sun and shade matter more in the desert than many homeowners expect. Afternoon sun can make a bare cooking zone unbearable from May through September. A pergola, canopy, or wall positioned on the west side makes a big difference. Plan for the hottest hours, not the mild spring weekends you picture when you first start the project.
Sketching the yard to scale on graph paper can help with planning. A simple scale of one square per foot works well. Mark where the cooking area will sit, then draw a path from the kitchen door to it. If the path crosses a lawn, dining area, or pool deck, consider moving the zone before buying materials.
Finally, walk the space while holding a tray or plate. Would you have room to turn around? Could two people cook without tripping? That quick test catches most layout problems early, long before a contractor is on site.
Choosing a Layout for Small, Medium, and Large Yards
Layout depends on how much room you have, and it should match how you cook. A small patio, a mid-size backyard, and a large estate lot each call for a different approach. Get the footprint right first, then add features.
Small yards work best with a straight run along one wall. Keep the grill, a prep counter, and a small sink in a single line. This keeps the cooking triangle tight, so you do not walk far between tasks.
Medium yards open up options. An L-shape gives you two working runs and a natural corner for a dining area. A U-shape works well when you want the cook to face guests while staying inside the work zone.
Large yards can support separate cooking and dining zones. Place the grill and prep area on one side, and the seating area a comfortable distance away. Keep the smoke path in mind.
Here is a quick guide to match layout to space:
- Small yard: Single straight run, grill and counter only
- Medium yard: L-shape or U-shape with a sink and refrigerator
- Large yard: Separate cooking, prep, and dining zones with shade structures
Keep at least 36 inches of clear walkway around work surfaces. That gap lets two people move without bumping. Leave extra room near the grill, since the cook needs space to open the lid and reach tools.
Selecting a Cooking Style and Intended Uses
Before you choose appliances, decide how you actually cook. A family that grills burgers twice a week has very different needs from a host who entertains a dozen guests on weekends. Think about the foods you prepare most, how many people you usually feed, and whether you want to cook year-round.
Common cooking styles include gas grilling for quick weeknight meals, smoking or slow cooking for big gatherings, and pizza or specialty ovens for something different. Each style needs its own clearance, fuel source, and work surface.
We suggest listing your top three meals and the tools each one needs. A grill, a side burner, and a refrigerator cover most everyday cooking. Add a pizza oven or smoker only if you will use it often.
Choosing Outdoor Kitchen Appliances and Positioning Them for Access
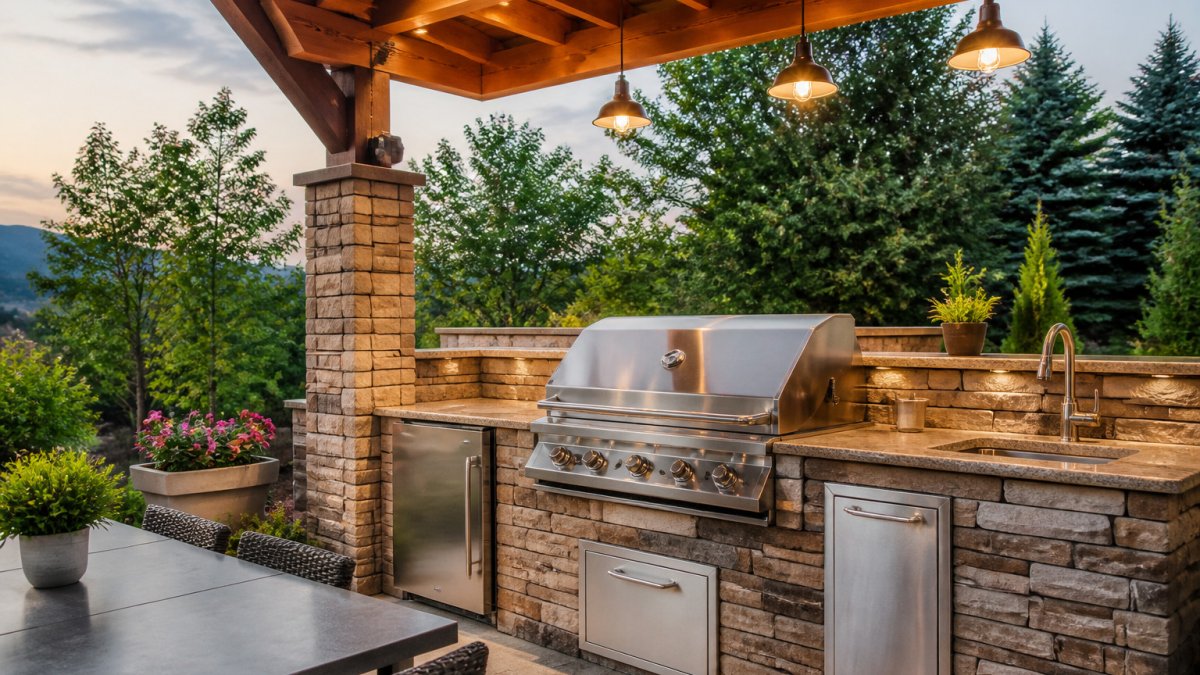
Choose appliances based on your cooking style, then place them so the cook can reach each one in a few steps. Put the grill at one end of the run, the prep counter beside it, and the sink or refrigerator within easy reach. Avoid placing the grill next to a door or in the middle of foot traffic.
Make sure every unit has proper ventilation and clearance as listed by its manufacturer. Gas lines and electrical connections need a licensed installer, and local building rules apply. Verify requirements before you commit to a location.
Planning Small Outdoor Kitchen Ideas That Still Work
A small outdoor kitchen can still cook well. Use a single straight run, a compact grill, a fold-down prep surface, and vertical storage. Built-in lighting and a wall-mounted shelf save floor space. Keep everything you use daily within arm's reach of the grill. Efficient organization remains the foundation of a successful layout, even when expanding your vision toward designing outdoor living spaces.
Small setups also suit portable or modular units. These can be added in stages as your needs grow.
Planning Utilities, Materials, and Weather Protection
Utilities determine where everything can go. Map gas, water, drain, and electrical lines before you finalize the layout. Natural gas lines should be installed by a licensed professional under local code. Running a water line for a sink requires a drain plan that slopes away from the house.
Choose materials that handle heat, sun, and desert dust. Stainless steel resists rust, while sealed concrete, stone, and UV-stable composite cabinets hold up well in the Coachella Valley climate. Plan shade from a pergola or canopy to protect appliances and reduce surface heat.
Watch out: Dark countertops can get hot enough to burn bare skin on summer afternoons. Light-colored surfaces stay cooler.
Setting a Realistic Outdoor Kitchen Budget and Booking Your Consultation
Pricing depends on size, appliance choice, utilities, and installation needs, so we cannot quote a number here. Ask for a written estimate that lists each item separately, including delivery and installation. Compare line by line, not just the total.
For current pricing, call allvalley at 760-342-5277.
Frequently Asked Questions
How do you plan an outdoor cooking area?
Start by measuring the space and noting where the sun, wind, and existing doors and utilities fall. Decide what you will cook and how many people you usually host, then pick a layout such as a straight run, L-shape, or U-shape that keeps the grill, prep counter, and sink within a few steps of each other. Sketch the layout on paper before you order anything. Check local permit requirements with your city or county building department, since gas and electrical work usually needs inspection. Pricing depends on quantity, delivery, and installation.
What should an outdoor kitchen include?
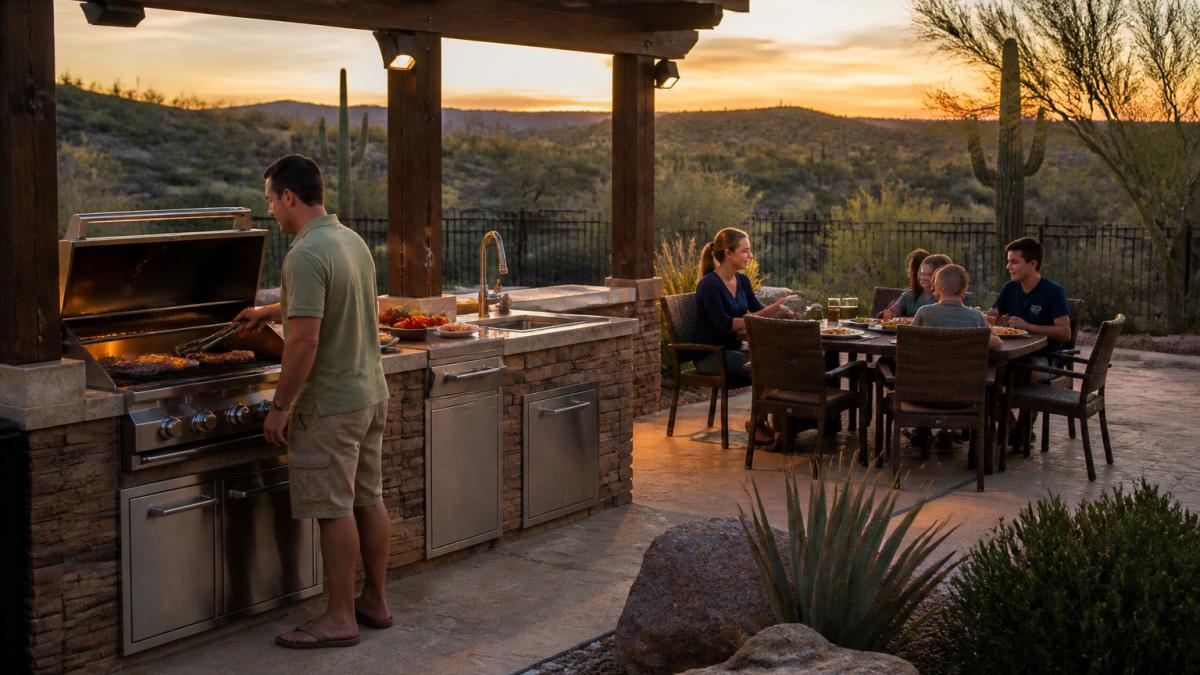
A functional outdoor kitchen usually has a grill or cooktop, a prep counter with enough room to work, storage such as cabinets or drawers, and a way to keep food and tools clean. A sink and refrigerator are useful if you cook for groups often, but they add plumbing and power needs. Choose weather-resistant materials and stainless steel hardware for the desert climate of the Coachella Valley. Plan for a shaded area with a pergola or canopy so you can cook comfortably in the afternoon. Start with the essentials and add extras as your budget allows.
What is the best layout for an outdoor cooking area?
The best layout depends on your space and habits. A straight run along a fence works well for small yards. An L-shape or U-shape gives more counter space and keeps the cooking triangle of grill, sink, and prep area compact. Keep at least 36 inches of clear walkway around cooking zones so people can move safely past hot surfaces. Position the grill away from seating and out of prevailing wind. Good traffic flow matters more than adding one more appliance.
How much space do you need for an outdoor kitchen?
A compact outdoor kitchen can fit in about 8 by 10 feet, while a larger setup with a dining area may need 15 feet or more of length. Measure the usable area, then subtract space for walkways, the door swing, and any seating. Leave clearance above the grill and under any pergola or canopy, following manufacturer specifications for overhead distance. Think about future needs, such as a second burner or an outdoor fireplace, before fixing the footprint.